
8 tips to make your drawings more realistic
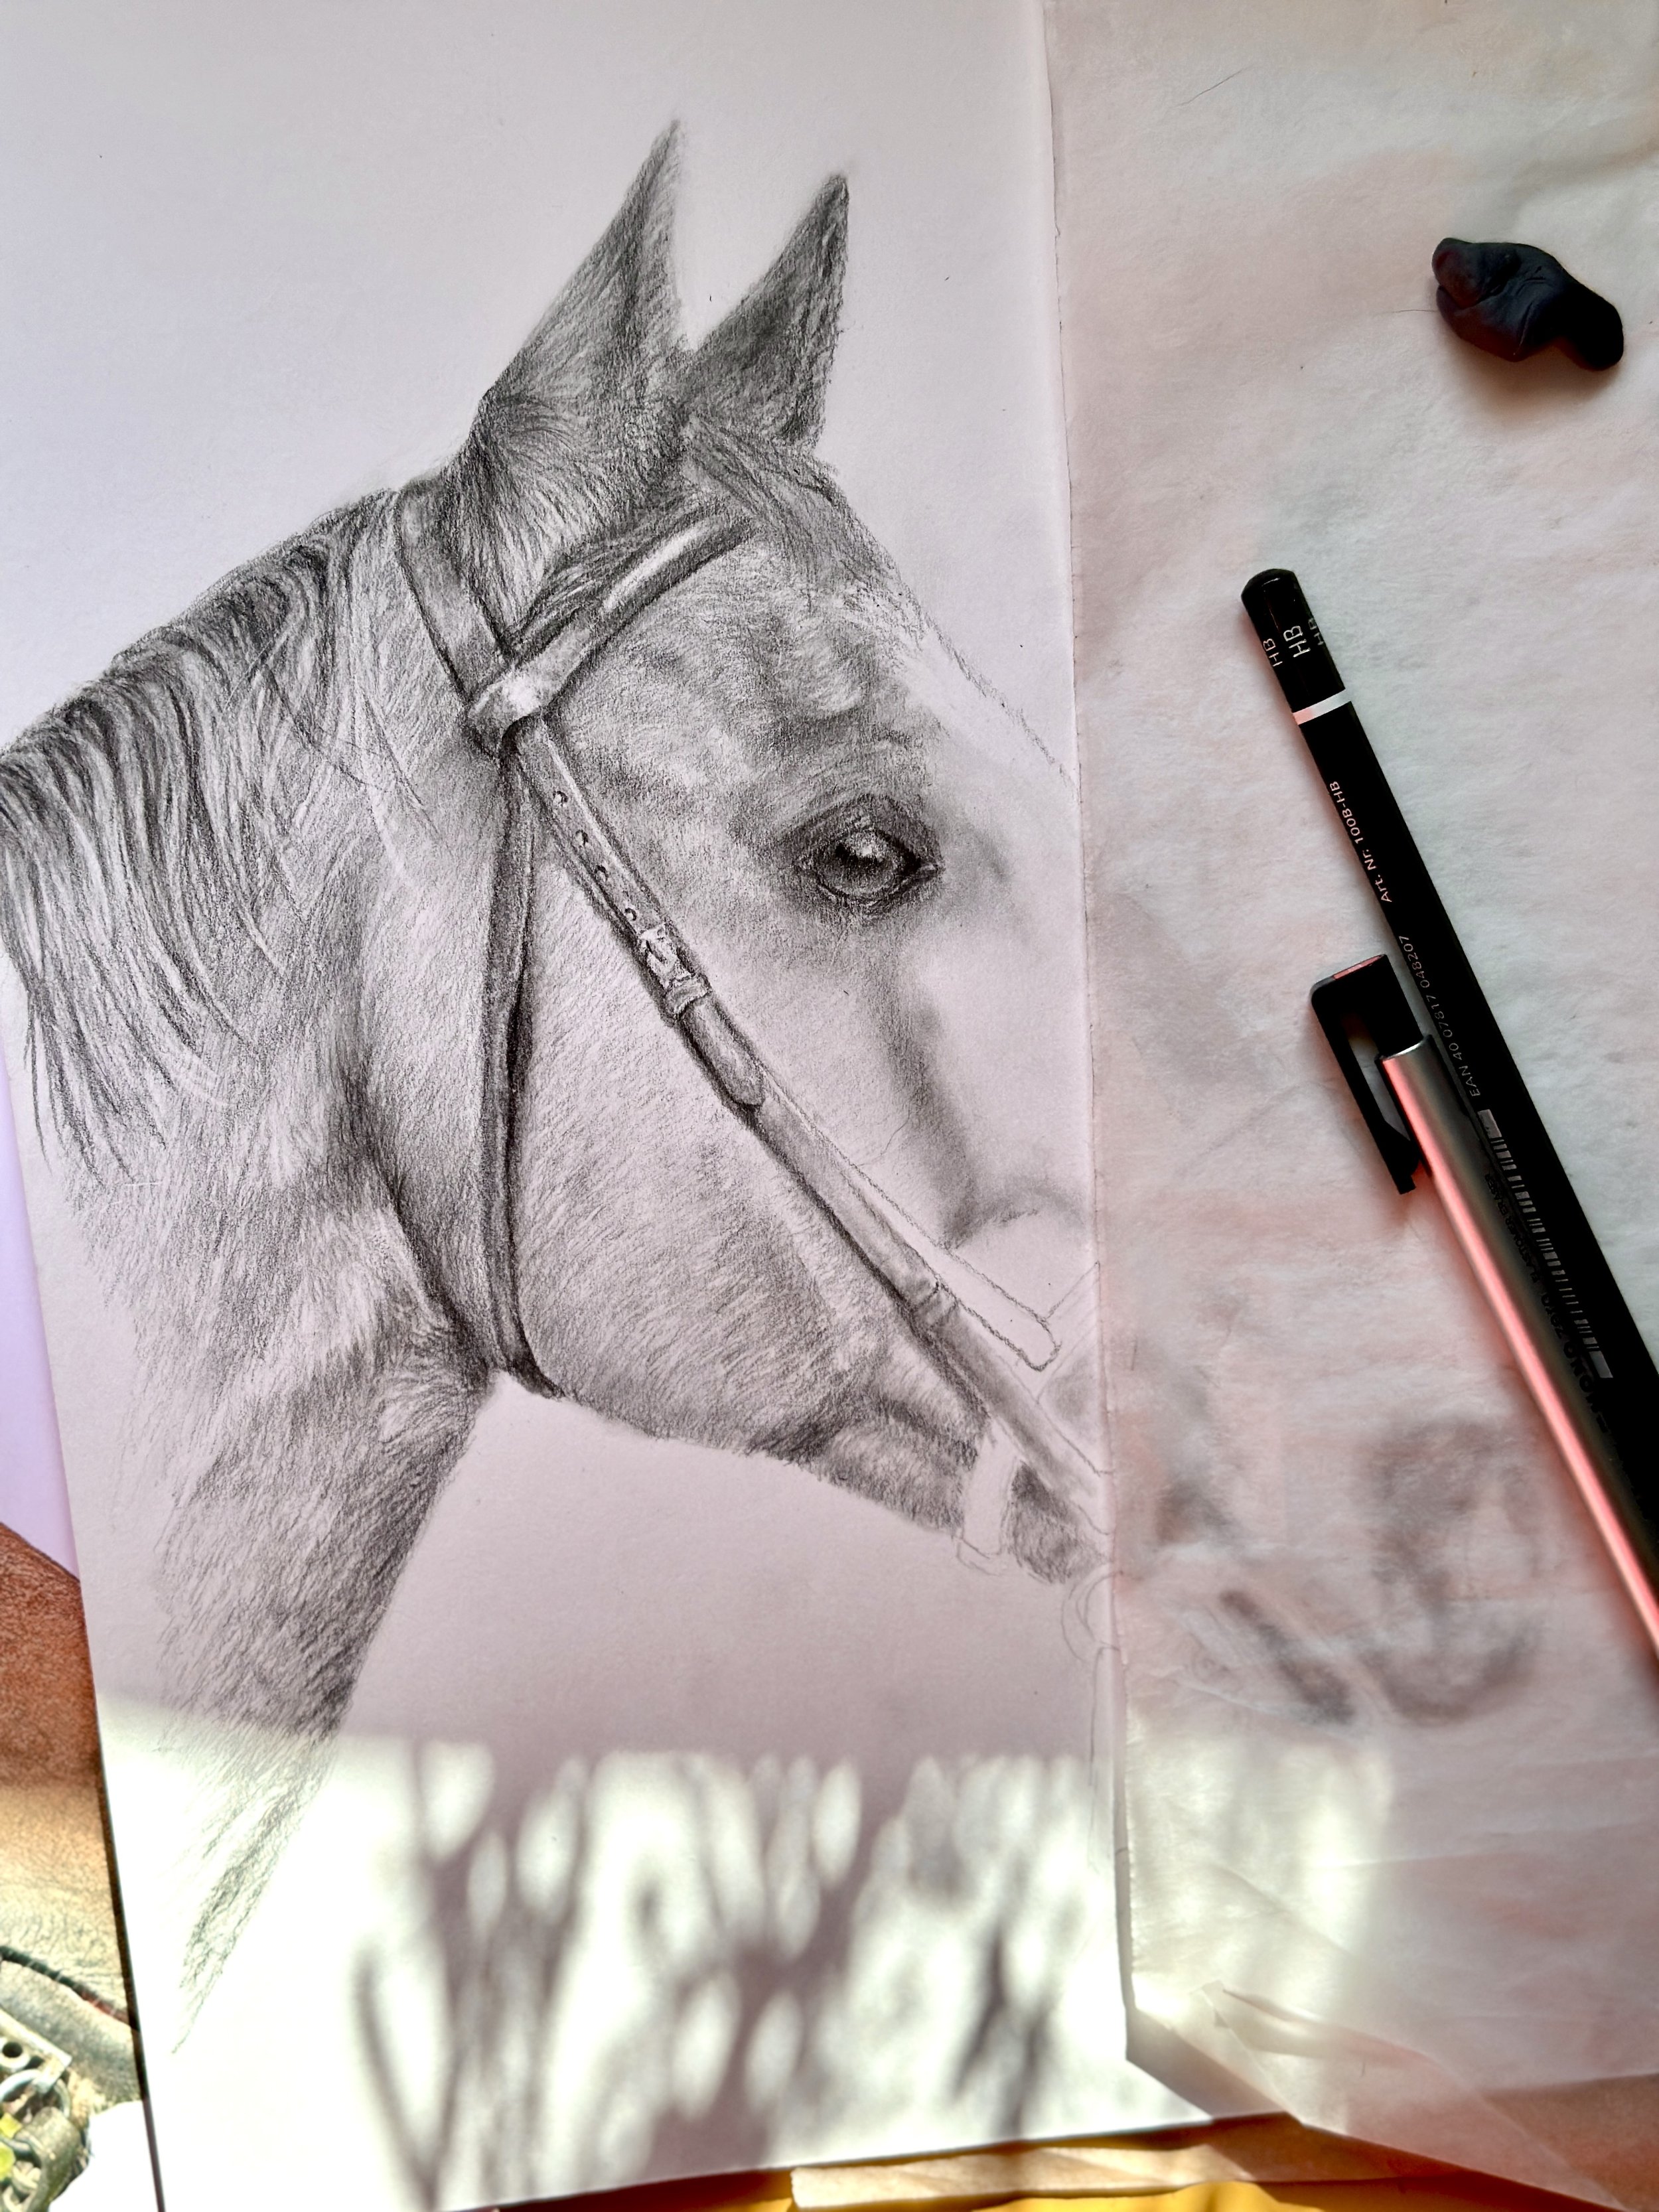
Graphite drawing in progress. Bridget Greene
The two main questions people have when they see a photorealistic drawing is:
How did they do that?!
and…
Why not just take a photo?
I’ll lay out the “how” in this blog, but first, here’s why I think it’s worth doing.
Creating a realistic drawing isn’t just about replicating a photo; it’s about understanding and manipulating tone and value to bring a 2D image to life with your own hands. I also like infusing personality and soul into realistic drawings so it isn’t a photocopy but an interpretation of what I see.
If you’re down with that and want to advance your drawings from looking flat to appearing three-dimensional, try these 8 realistic drawing tips:
The right drawing tools: A good ol’ number 2 pencil is fine for sketching, but to get a broad range of darks and lights in your drawing, you’ll need more tools. Graphite pencils range from hard (H) to soft (B). A number 2 is in the middle of the scale, called HB. Hard pencils are great for light shading and fine details, while softer B pencils allow you to create rich darks for shadow tones.
Understand value: In graphite drawing, Value translates to how light or dark your pencil strokes are. Getting values right is SO important in creating realistic form, depth and dimension.
Control your pressure: Practice varying your pencil pressure to create smooth transitions from light to dark.
Build layers gradually: Start with the lightest tones and build up to the darker values. This approach allows for more control and allows you to easily erase in the early stages.
Use a blending Tool: Blending stumps or paper towel can be used to smooth out the graphite and create a gradual transition between tones to create depth and dimension.
Build contrast: Contrast is key in making your drawing pop off the page. When the darkest darks are placed next to the lightest lights, you get that hallmark 3D effect of realism.
Use a good reference: A reference photo that is in focus and shows details will set you up for success. Observe where the light hits and where the shadows are. Pro tip: Squinting helps you see the different values in a photo better.
Learn to see: When drawing a familiar object or animal, we create an image in our mind of what we think it looks like. Ignore that. Use the reference photo as your map for lights and darks.
Those tips help you get the 3D look, but you need to have all the parts of your subject laid out first. Lots of artists create a simple, very light outline of their subject using the drawing grid method, carbon transfer paper to trace the photo onto their drawing paper, or a tool like DaVInci Eye on a mobile device. Those approaches will save a ton of time and ensure your subject’s proportions are accurate and all the parts are in the right place.
As a reminder, this takes time and patience with yourself. Don’t compare where you are today to someone else’s 10 years of practice! We all start somewhere. The only way to improve your art skills is to learn how to and then implement what you’ve learned.
If you have questions, let me know and please share what you create! I’d love to see what you’re working on.
Cheers -
Bridget